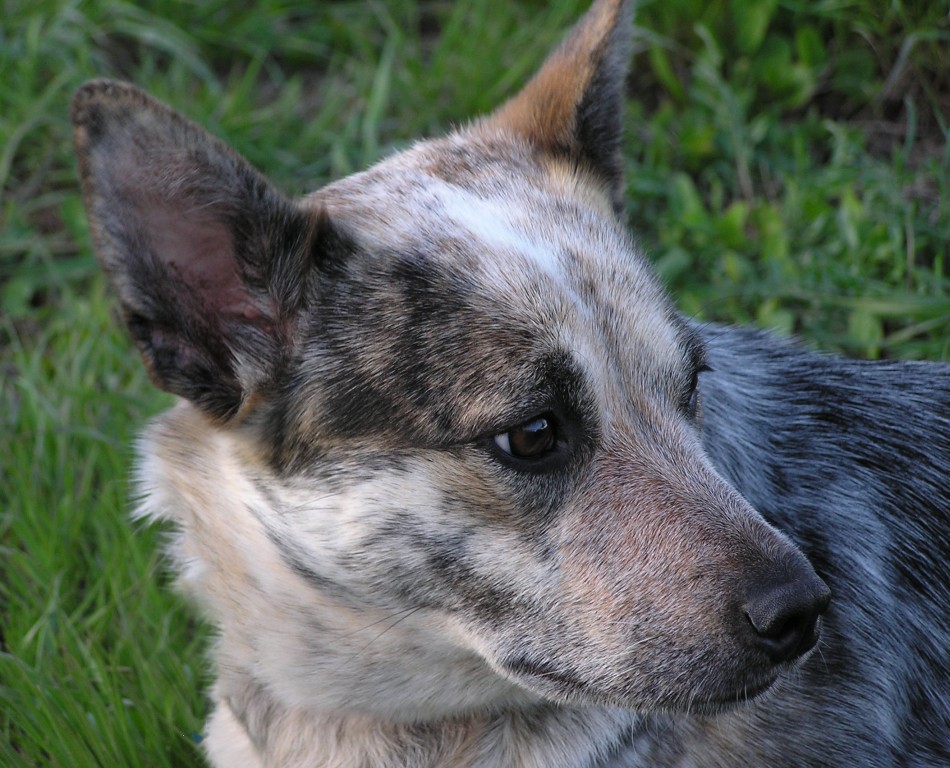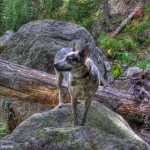
Pet Portraiture is one of my favorite areas of photography. No better time than the holidays to have portraits made of your pet! Here are three samples of portraits I’ve taken of my own dog, Kiah, a Blue Heeler (Australian Cattle Dog). (more…)
November 26, 2011 | Categories: Animals, Flash Photography, Lighting, Lighting Tutorials, Outdoor Adventure Photography, Photography Equipment, Photography How To's, Photography Tutorials, Portraits - Pets, Strobe Lighting, Strobe Photography | Tags: Australian Cattle Dogs, Blue Heeler, Blue Heelers, Canon 430EX II Speedlight, Canon ST-E2 Transmitter, Cowboy Softbox 16", Dan Bailey, dog, dogs, Going Fast With Light, Lighting, Lighting Techniques, LumiQuest SoftBox III, outdoor adventure photography, outdoor lighting techniques, pet portraits, photography how to's, photography tutorials, strobe lighting | Leave A Comment »
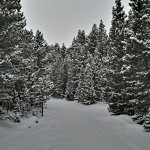
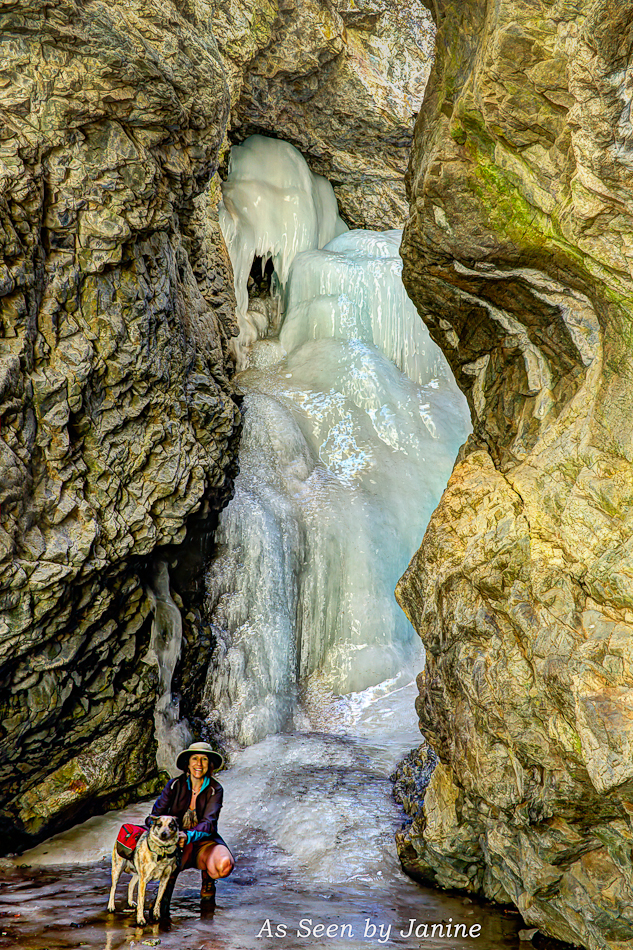
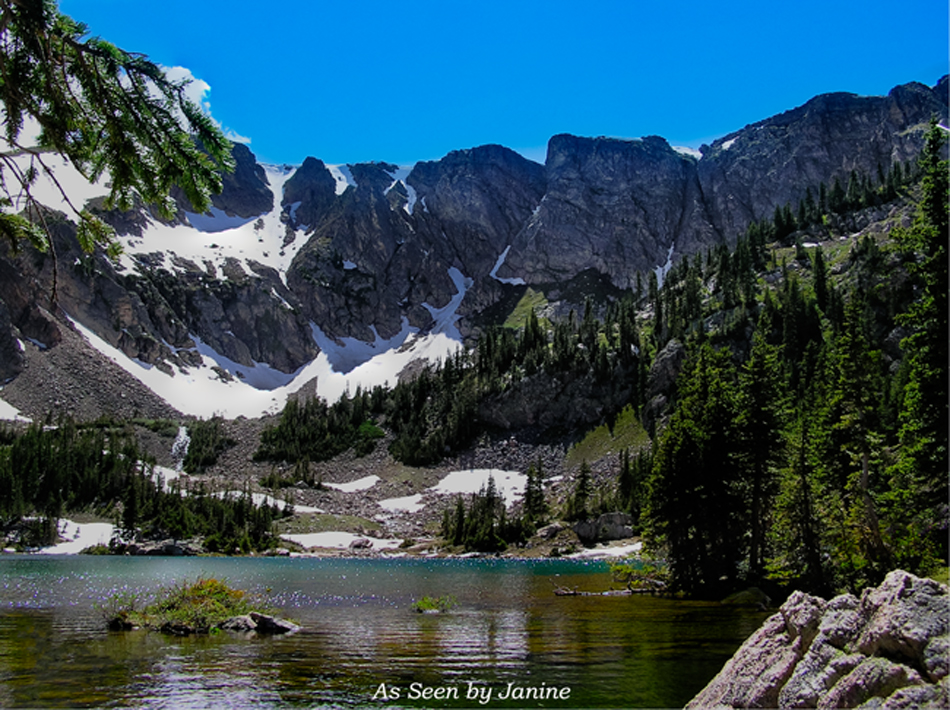
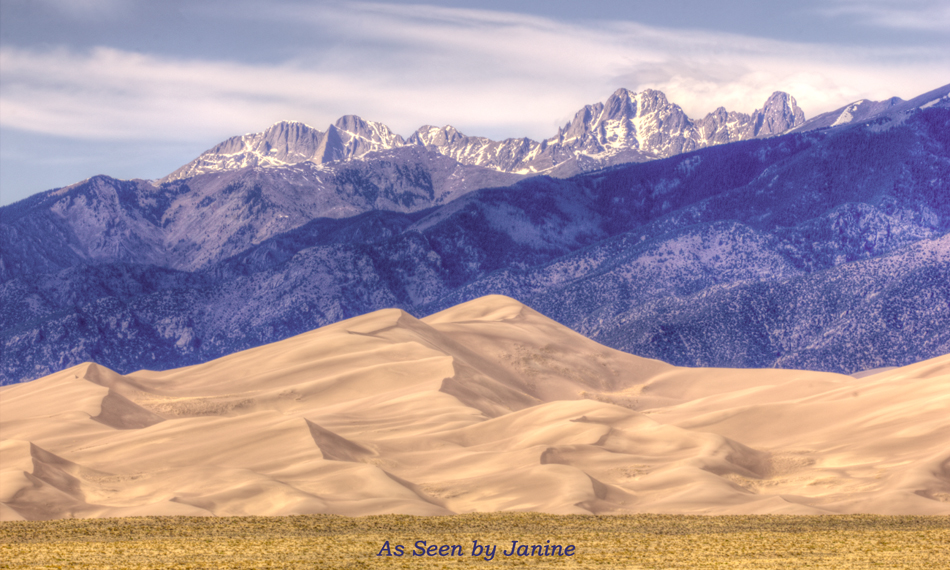
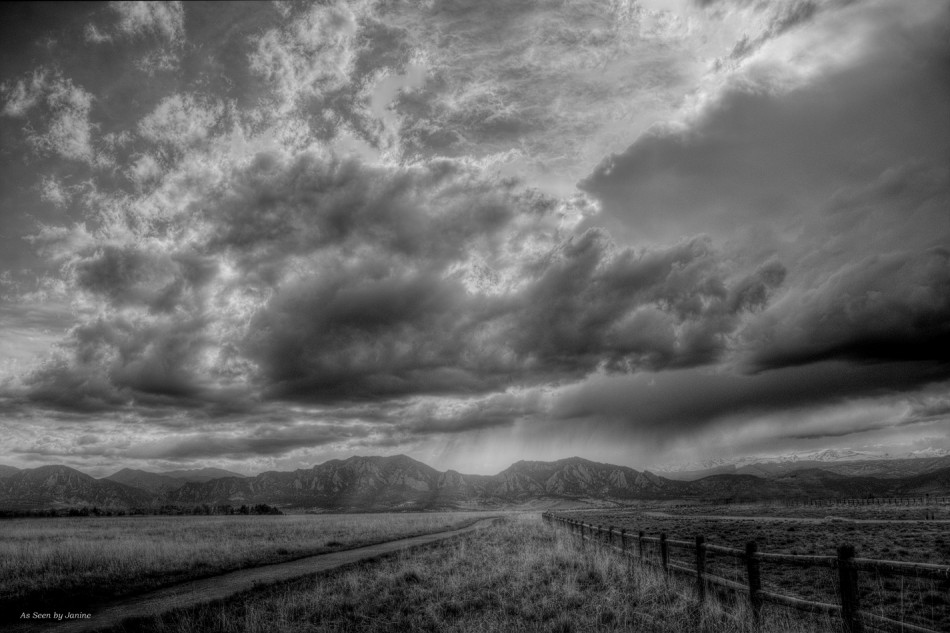
How fun that Winter Wonderland has hit Colorado! These are a few photographs taken on a recent snowshoe hike I led for Colorado Mountain Club. (more…)
November 25, 2011 | Categories: Adventure Photography, Landscapes, Lighting, Mountains, Sports | Leave A Comment »

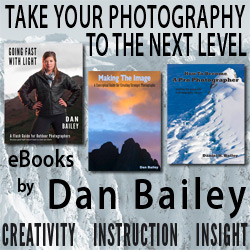
Dan Bailey’s Going Fast With Light
I was super-excited when I learned Daniel Bailey’s newest eBook was going to be about “Going Fast With Light.” This eBook is an outstanding resource, whether you’re totally new to off-camera flash, or you’re a pro photographer looking for ways to lighten up your arsenal of off-camera lighting gear! (more…)
November 6, 2011 | Categories: Book Reviews, Flash Photography, Lighting, Reviews, Strobe Photography | Tags: adventure photography, Canon 430EX II Speedlight, Canon ST-E2 Transmitter, Colorado, Dan Bailey, Daniel Bailey, David Hobby, eBooks, Flash Bus Tour, Flash Photography, Going Fast With Light, Joe McNally, Light Modification, light shaping, Lighting, lighting control, Lighting Techniques, Off-Camera Flash, outdoor lighting techniques, photography tutorials, Portrait Lighting, softboxes, Speedlights, strobe lighting, strobes, Strobist, The Flash Bus Tour | 3 Comments »

When the art teacher at Global Leadership Academy in Denver, Colorado asked me to photograph an art documentation project, I’d just signed up for The Flash Bus Tour. This was a day-long speedlight training seminar being taught cross-country by David Hobby and Joe McNally, both strobe lighting “gurus” in my esteem. (more…)
June 3, 2011 | Categories: Art Documentation, Flash Photography, Lighting, Lighting Tutorials, Photo Services, Photography How To's, Photography Tutorials, Strobe Lighting, Strobe Photography | Tags: art documentation, artist portraits, character traits, Colorado, compassion, courage, David Hobby, Denver, Flash Bus Tour, Flash Photography, GLA Pumas of Denver Colorado, Global Leadership Academy, high school artwork, Hot Shoe Diaries, Joe McNally, murals, paintings, paintings by students, Portraits, puma, pumas, respect, responsible, scholarly, strobe lighting, Strobist, student artist portraits, student artists, student artwork, student portraits, The Flash Bus Tour, trustworthy | 1 Comment »
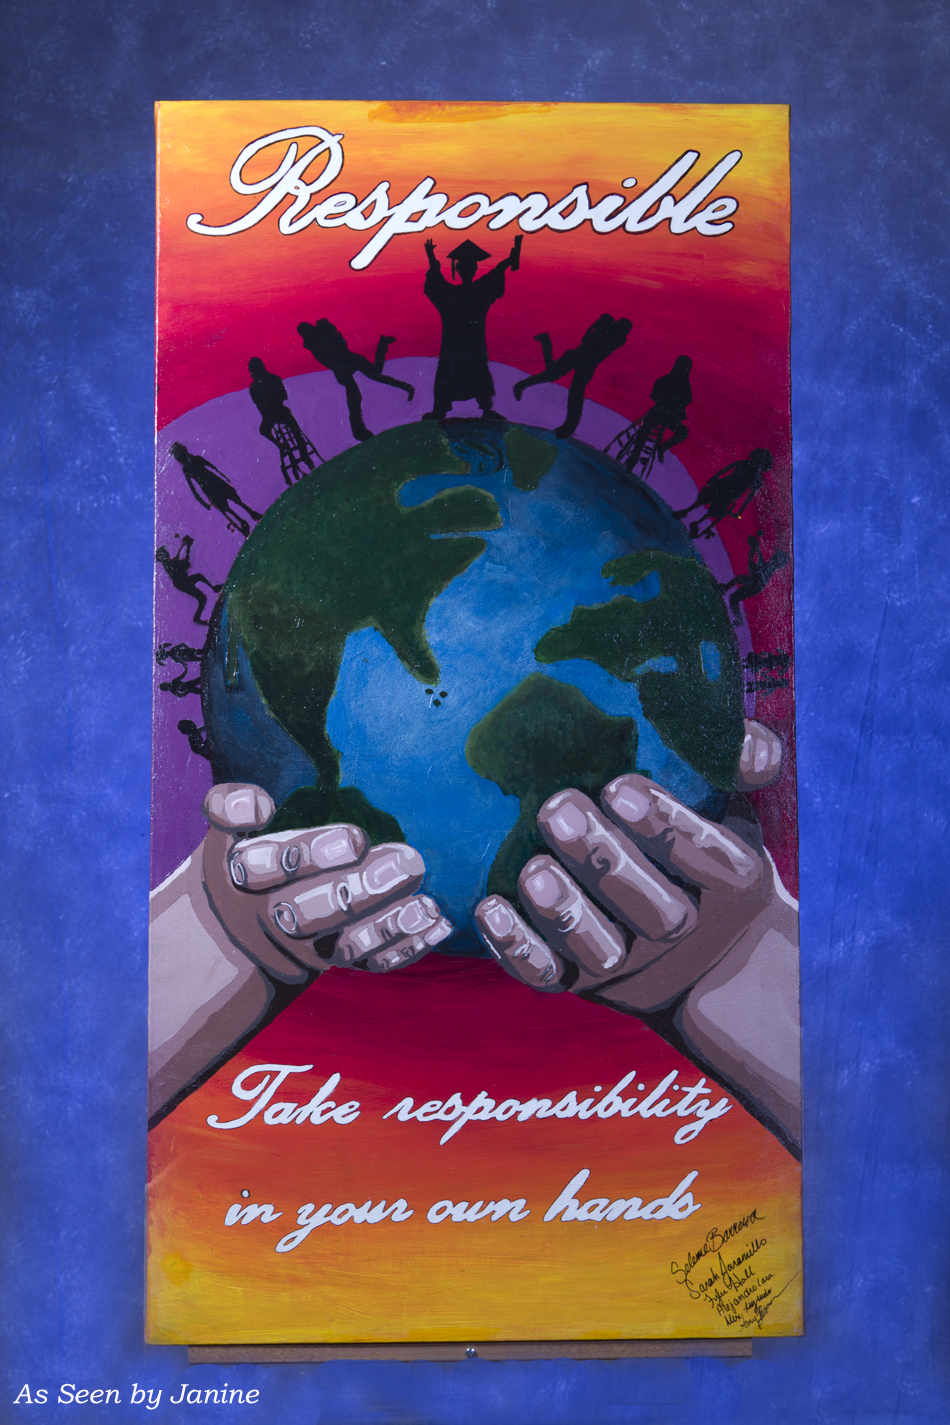
My previous post presented art documentation photographs of amazing mural paintings created by student artists. They were painted at Global Leadership Academy, the school in Denver, Colorado where I teach. The murals represent the character traits and the school mascot; this project has really helped to instill school pride and identity in our students and staff. (more…)
May 17, 2011 | Categories: Art Documentation, Flash Photography, Lighting, Portraits, Strobe Photography | Tags: art documentation, artist portraits, character traits, Colorado, compassion, courage, David Hobby, Denver, Flash Bus Tour, Flash Photography, GLA Pumas of Denver Colorado, Global Leadership Academy, high school artwork, Joe McNally, murals, paintings, paintings by students, Portraits, puma, pumas, respect, responsible, scholarly, strobe lighting, Strobist, student artist portraits, student artists, student artwork, student portraits, The Flash Bus Tour, trustworthy | 3 Comments »
The Flash Bus Tour in Denver was one of the peak experiences in my lifetime of learning about photography!

Flash Bus Tour Denver Opening Screen
(more…)
April 1, 2011 | Categories: Flash Photography, Lighting, Lighting Tutorials, Photography Equipment, Photography How To's, Photography Tutorials, Portraits, Strobe Photography | Tags: adaptive lighting gear, David Hobby, Denver, Flash Bus Tour, Flash Photography, Joe McNally, Light Modification, lighting control, Lighting Techniques, manual flash techniques, Off-Camera Flash, Photography Trainings, Portrait Lighting, Speedlights, strobe lighting, Strobist, Strobist.com, The Hot Shoe Diaries, TTL Flash | Leave A Comment »

Wonder what happens when two extremely talented photographers team up, both gifted in their creative use of strobe lighting, and also both clearly a bit on the crazy side (okay, maybe more than just a bit crazy)???
THE FLASH BUS TOUR, that’s what! (more…)
March 21, 2011 | Categories: Flash Photography, Lighting, Photography Equipment, Photography How To's, Strobe Photography | Tags: Canon 430EX II Speedlight, Canon ST-E2 Transmitter, David Hobby, Denver, Joe McNally, Lighting Trainings, Photography Trainings, Speedlights, strobe lighting, strobes, Strobist.com, The Flash Bus Tour, The Hot Shoe Diaries, TTL Flash, Wireless | Leave A Comment »
As Seen by Janine: Eyes of the World Images is gearing up for serious flash photography! I just splurged and bought two more Canon 430EX II Speedlights to add to the one I already have. (more…)
March 6, 2011 | Categories: Flash Photography, Lighting, Photography Equipment, Photography How To's, Photography Tutorials, Strobe Photography | Tags: business start-up costs, Canon 430EX II Speedlight, Canon ST-E2 Transmitter, DIY Beauty Dish, Faces of Ground Zero, flash, Flash Bus Tour, gear, Joe McNally, Lighting, Lighting Techniques, Portrait Lighting, strobe, strobes, Strobist.com, tax deductions, The Hot Shoe Diaries | Leave A Comment »

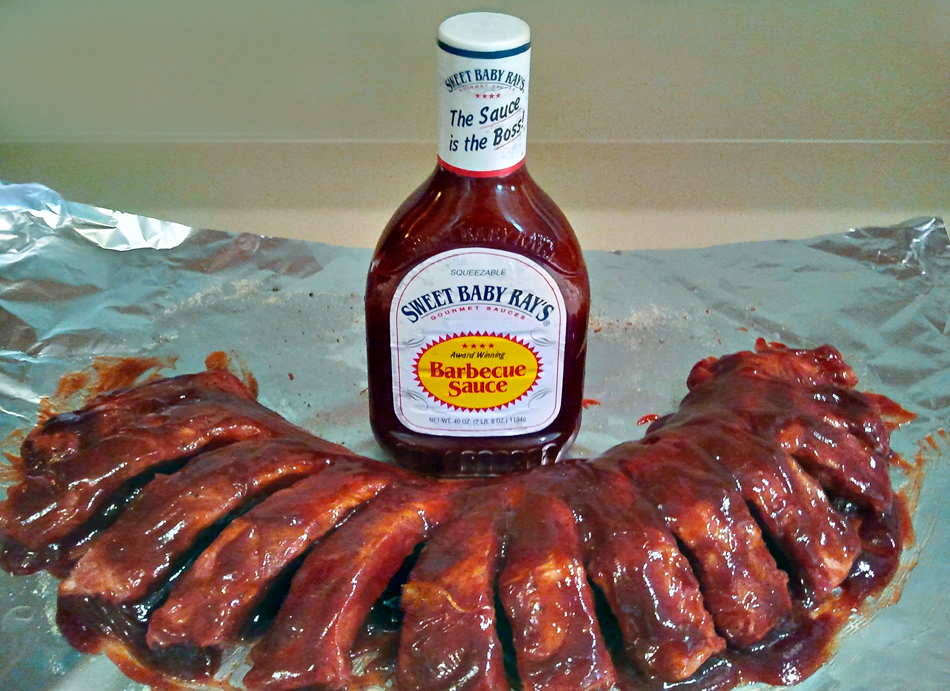
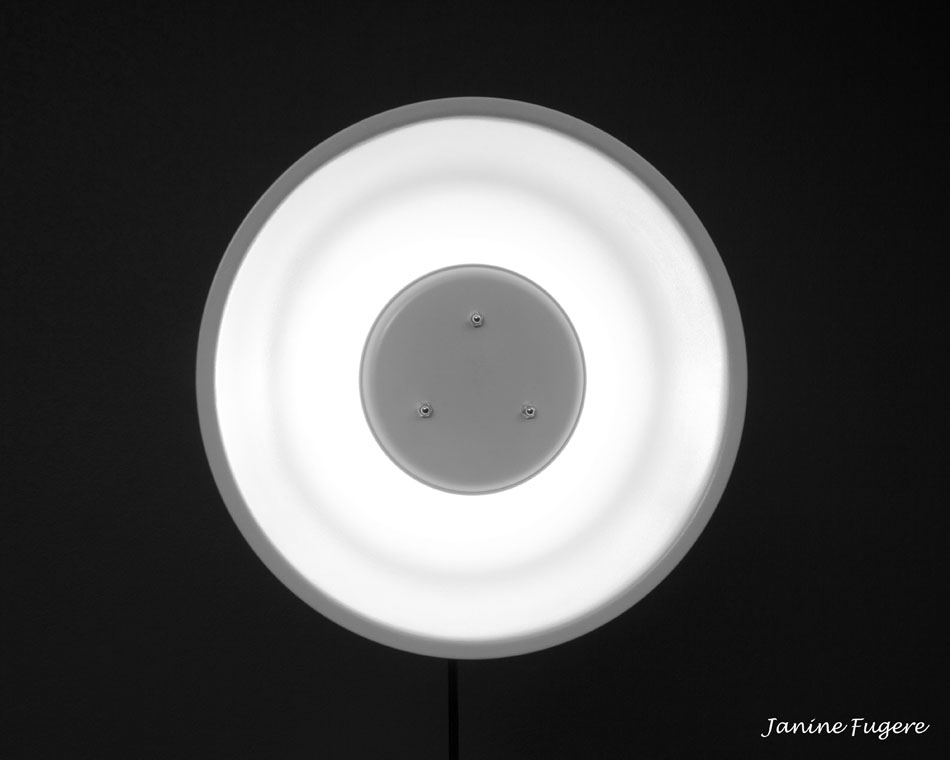
Making my own DIY Beauty Dish is one of the coolest things I’ve ever had the satisfaction of accomplishing! (more…)
February 2, 2011 | Categories: Lighting, Lighting Tutorials, Photography Equipment, Photography How To's, Photography Tutorials, Portraits | Tags: Beauty Dish, DIY Beauty Dish, Flash Photography, how to make a beauty dish, how to make a DIY Beauty Dish, Lighting, Lighting Techniques, lighting tutorials, photography how to's, photography tutorials, Portrait Lighting, Speedlights | 16 Comments »