Art Illumination: Flash Bus Style!
When the art teacher at Global Leadership Academy in Denver, Colorado asked me to photograph an art documentation project, I’d just signed up for The Flash Bus Tour. This was a day-long speedlight training seminar being taught cross-country by David Hobby and Joe McNally, both strobe lighting “gurus” in my esteem. So when asked to photograph a series of mural paintings that represent the character traits of the school where I teach, along with capturing group portraits of the student artists who created them, my first question was, “How soon do you need them?” I certainly was relieved that the deadline fell after the date the infamous Flash Bus Tour would arrive in Denver, because I knew I’d learn much which would help with the tricky challenge of lighting an extensive art documentation and artist portrait shoot.
Click Any Contents Heading To Jump There:
Previous Posts about the Art Documentation Project
If you did not see my earlier blogs about the art documentation project, there were two separate posts. The first post showcases my close-up photographs of the mural paintings by themselves, shown in these thumbnails and the full post is at this link:
Student Mural Paintings Portraying Character Traits

Compassion

Courage

Respect

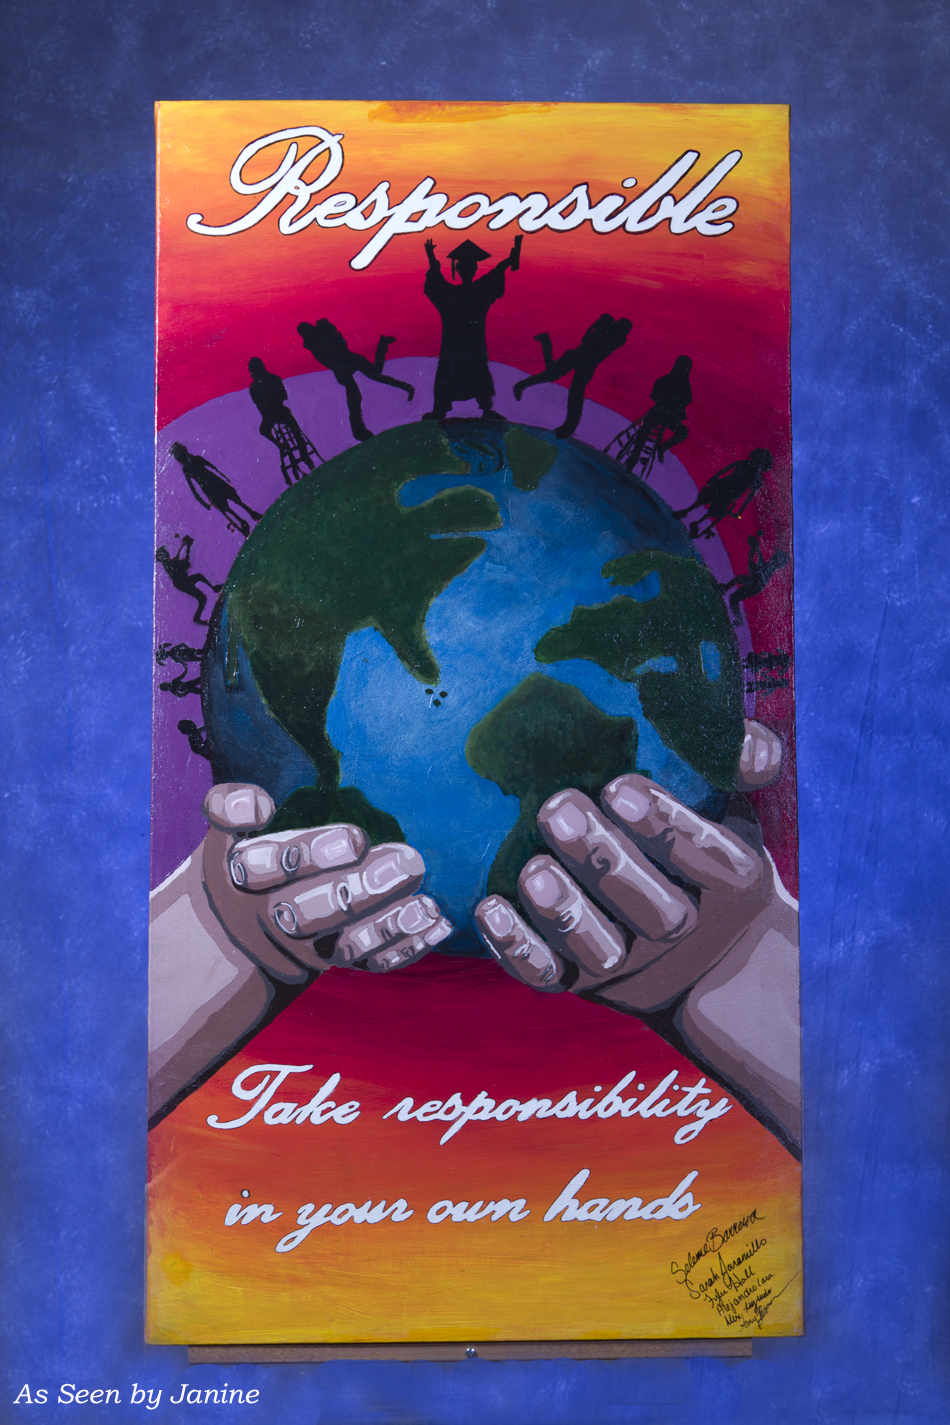
Responsible

Trustworthy

Scholarly

Pumas
The second post showcases the far more challenging group portraits of each group of student artists, along with their murals, shown in these thumbnails and the full post is at this link:
Portraits of Students With Mural Paintings

Compassion

Courage

Respect

Responsible

Trustworthy

Scholarly

Pumas
The Flash Bus Tour Gave Me the Skills for this Project
I don’t believe I had the skill, before attending The Flash Bus Tour, to pull off the lighting needed to do justice to this shooting assignment. I’d wanted improve my skills at creative lighting using multiple small strobes, having recently armed myself with three Canon 430EXII Speedlights and a Canon ST-E2 transmitter to trigger them. That investment & my signing up for The Flash Bus Tour both occurred, serendipitously, just before I was asked to photograph the mural paintings and student artists.
The Flash Bus Tour came and went, bringing the time to undertake the art documentation project. I’d been told, “It’s not a big deal, we just need some snapshots to have mounted on some plaques.” But snapshots would never have captured the beauty created by our art students, or their pride for their work in the sophisticated way I believed they should be immortalized. So I started explaining the specifics of my more elaborate plans for the setup and lighting techniques to the art teacher. Her reaction was, “I don’t want this project to be a hassle for you.” I just smiled and said, “What I think I’m hearing is, you don’t want it to be a hassle for you. So just leave it to me; the job will be done and it will be done well!”
Thankfully, I didn’t have to eat those words, because through The Flash Bus Tour, along with reading Joe McNally’s Hot Shoe Diaries and studying David Hobby’s Strobist: Lighting 101 tutorials, I had learned so much and gained a decent understanding of using strobe lighting. While the project was quite a challenge, and there is plenty I would have liked to improve upon, my new skills helped me capture the essence of these beautiful murals and also very nice group portraits of the students who created them.
There weren’t many people at the school who were all that interested in the hows & the whys of the lighting setup I used. This was a learning experience for me – often your clients simply don’t want to know how you do it. Sure, there will be some who are curious about your techniques, but more often, clients just want the end result to be pleasing.
I believe I’ve achieved that pleasing end result. I’m very happy that the feedback I’ve gotten from the art teacher, the school administration & staff, the art students & their families has all been fantastic. It’s okay that none of them really knows just how much work went into the planning & execution of this shoot.
While nobody at the school cared all that much about the hows of my lighting techniques, I know there are many photographers who are interested in the specifics. Also, as I’ve mentioned in the past, I believe most photographers are Bodhisattvas, who yearn to share their enlightened moments and discoveries with others. I’m no exception because nearly all of what I know about photography, I learned from other “Photo Bodhis” out there, so I’m paying it forward!
The following are the details of the setup and lighting techniques I used for the art documentation series, followed by my reflections about what I learned, what went well, and what I’d do differently in the future:
The Art Documentation Setup, Background & Lighting
Since the mural paintings are displayed in a busy school cafeteria with windows on either side of each mural, I decided I’d move them to photograph them. Not only did I want to avoid food fights during my shoot (!!!), but I also wished to be free of the ambient light from the windows which back-lit the murals. More importantly, I wanted to practice my new skills using colored lighting gels to give each mural a colored background which would complement the painting’s colors. So I set up an art documentation studio in my classroom.

Art Documentation Easel Setup and Background
Speedlight Equipment & Light Modifiers
This shoot was a basic three-light setup, using 3 Canon 430EXII Speedlights with a Canon ST-E2 transmitter to trigger them all remotely. A “forced learning” came in the moment of truth when I discovered that the ST-E2 will provide TTL control (AKA Joe McNally Flash Bus Style) to only two flash units, not three as I had erroneously thought. HORRORS! Here, I’d really thought I was a TTL Girl and I really needed three lights: a key light, a fill light, and a gelled background light. What to do? I faced my inner demons and discovered that I really could do it manually (AKA David Hobby Flash Bus Style). I controlled the relative power of the three strobes manually and am proud of how much I learned in the process of having to do so.
Key Light
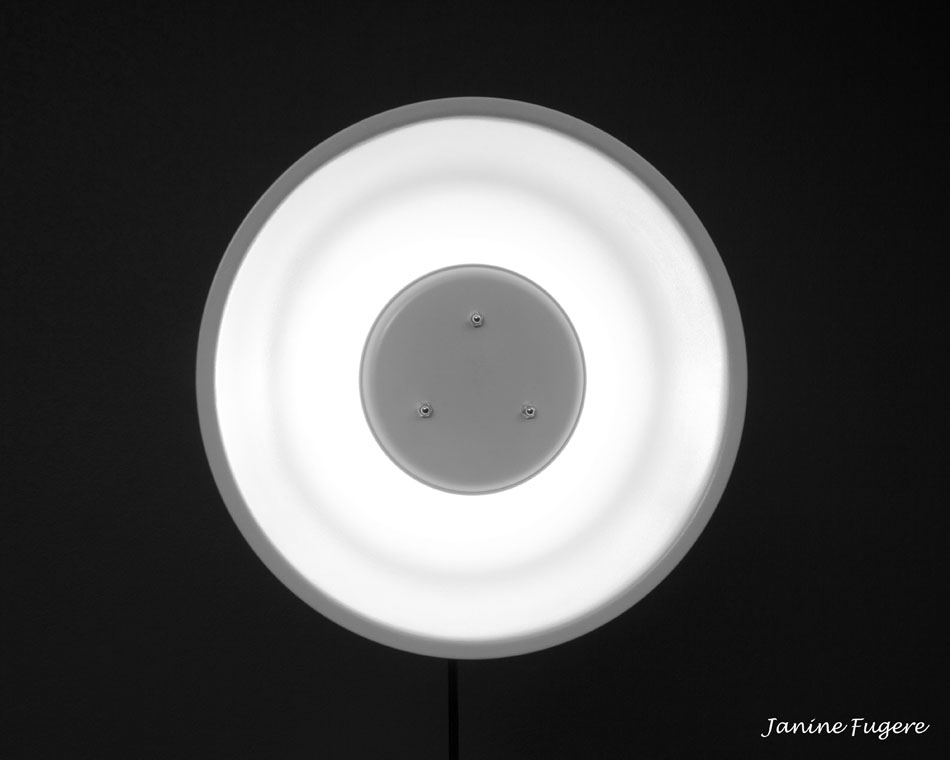
Canon 430EXII Speedlight with my 16″ DIY Beauty Dish – Manual 1/1 power, Zoom 105mm ( Tutorial on how I made the beauty dish at this link: The Making of My DIY Beauty Dish )

Key Light: My DIY Beauty Dish Illuminated with Canon 430EXII Speedlight

Key Light - Rear View of My DIY Beauty Dish with Canon 430EXII Speedlight with
Fill Light
Canon 430EXII Speedlight shot through 30″ white diffusion umbrella – Manual 1/2 power, Zoom 105mm

Fill Light - Canon 430EXII Speedlight with 30" Umbrella
Background Light
It was my goal to use lighting gels to create customized color background lighting to enhance the color of each mural. Luckily, in David Hobby’s tutorials at Strobist Lighting 101, I came across Using Gels to Correct Light. This article helped me learn how to apply gels to my flash head using simple Velcro, which I conveniently attached using the LumiQuest Ultrastrap I’d gotten as free schwagg at The Flash Bus Tour. I ended up using either a Roscolux #80 Primary Blue Gel or Roscolux #26 Light Red Gel for all the backgrounds. I’d originally thought I’d use the green for some, but found that did not work well as a background color; it is really intended to balance flash or tungsten light with fluorescent lights. Below is my mini arsenal of background lighting tools.

Background Strobe, Rosco Gels, LumiQuest Ultra Strap & Velcro Mounting Dots
The gelled background speedlight was mounted on a low light stand directly behind the artwork easel. It took some experimentation, both to discover the correct angle to aim the flash head to position the color where I wanted it, and to determine the power setting for the flash. I’d learned at The Flash Bus Tour that if the color looks too washed out, dial your strobe power down. This was a lifesaver because it was the opposite of what I’d always been trying in the past. I found the ideal setting for the blue to be Manual 1/4 -0.7, and Manual 1/1 -0.7 for the red. Here is a shot of the red background strobe firing behind the easel. While this was just a test shot & not taken at the optimal exposure, it does show the placement of the background light in the setup:

Artwork Easel and Red Gelled Background Light
Background & Artwork Easel Setup
The above photo shows the basic background setup and the easel which held each mural painting. The top of the “A” formed by the easel was poking & stretching the canvas of the paintings, so I adapted it with a broken yardstick. This allowed better support at the top of the paintings without damaging them. I handmade the cloth photo background for about $20 many years ago. It was hung vertically for the close-ups of the murals alone and hung horizontally, as above, for the group portraits.
Diagram and Notes on Speedlight Placements, Modifiers & Flash Settings
Here is a diagram I drew to show where each speedlight was placed (distance & angle from subject), the type of modifiers used, and the flash settings. Before you laugh at my drawing, be it hereby noted that there is a good reason why I chose photography, rather than drawing, as my art medium of choice! But this will be enough for you to envision the overall setup. Note that distances of the key & fill lights were a bit further away for the horizontal group portraits with the student artists.

Diagram of Art Documentation Lighting Setup
Each speedlight in the diagram is labeled with the modifier used, the flash zoom, the manual power setting, as well as the distance and angle from the artwork easel. The background light, which was aimed at the background from about 6 feet away, is labeled with zoom setting and the manual power settings used for each color gel.
Challenges & Learning
There were plenty of challenges and lots of things I learned and would like to improve on in future shoots, as I am still fairly early on along my lighting learning curve. Luckily, there were also plenty of things which went very well, much to my pleasure! However, I’ll start with the challenges and learnings.
TTL vs. Manual (Think Ahead When Buying Gear!)
I had planned on using TTL strobe control for this shoot, but I learned a serious lesson about buying photographic gear. Read very carefully all the specifications for any gear you purchase. I really thought the Canon ST-E2 would provide TTL control to all three of my speedlights. Looking back, at the time I bought it, I hadn’t even dreamed of buying more than one speedlight (what, spend even MORE money???) I got the transmitter simply so I could use one Canon 430EXII remotely with my DIY Beauty Dish. Since I wasn’t thinking multi-light setups at that time, I assumed the ST-E2 would be adequate for my needs. I didn’t take the plunge to buy two more speedlights until I’d later registered for The Flash Bus Tour. I nearly had a panic attack while setting up for this art documentation shoot, which was when I discovered that my transmitter would only provide TTL control of two flashes.
Ah, but there is opportunity in every challenge and this problem led me to discover faith in my ability to manually control my speedlights. I am very happy with the skill I gained through this experience. I am also happy I discovered that I can fire as many speedlights as I might like to use with the ST-E2 (I think), so long as I control their power settings manually & keep them within range of its infrared sensors. Also, I will definitely be able to use the ST-E2 for TTL control on shoots when I really only need two speedlights. Examples are shooting outdoors using the sun as my background light, with two strobes for key & fill, or shooting an indoor portrait in front of a back-lit window. I’m still happy with my purchases and thrilled that I gained the confidence to “GO IN MANUALLY!”
Key Light Challenges
While I love my DIY Beauty Dish, it serves better for intentionally high-key, contrasty lighting, such as a masculine male portrait or for music photography. I have loved its use for these kinds of shoots. However, it presented a challenge on this shoot because it was harsh enough to cast a glare on the protective clear-coat surface on each of the paintings.
My solution to this glare was to move the key light to shine more across the artwork, from the side, rather than a more traditional 45 degree angle, or even the 35 degree angle I’d planned on using. I ended up using about a 30 degree angle to get rid of the glare, however, this caused some problems with shadows. This was not a problem on the mural photos alone, but it was for the group portraits.
If I had it to do again, I’d either place a diffuser over the beauty dish or use a diffusion umbrella instead, saving my beauty dish for shoots which call for high-key lighting. Or… I’d buy a beautiful large LumiQuest Softbox…. (Is there no end to the gear wish list?!?!?)
Fill Light Challenges
Overall, I was very happy with my umbrella diffused fill light and felt this lighting worked well. My only mistake, I think, was that I should have moved it closer or powered it stronger, in order to offset shadows caused by the key light with beauty dish. This, of course, would have been unnecessary with more diffused key lighting.
Gelled Background Light Challenges
I am still a novice at using gels and it was difficult to get an even spread of color illumination on the background. This was especially true when photographing the larger views of the portraits of artists with their paintings. I believe it would have helped if I’d placed the background light further from the background, but I was limited on space. I also need to learn a lot more about gelling colored backgrounds in general. There must be some kind of adapter or diffuser which can be used to more broadly and evenly spread the color, and I’ll have to do some research on that. As it was, I did have to do some post-editing in Photoshop CS5. I eliminated some color “hot” spots in various spots behind a couple of the artists on the portrait shots, and cloned the color to areas of the background which the gelled light did not reach evenly enough.
However, use of the gelled background strobe went extremely well when creating colored backgrounds behind the mural paintings by themselves. Since a smaller framing composition was needed, I had plenty of color to really make each painting “pop” with complementary color behind it. I was also happy with the way I was able to tweak the coloring in post-production, by adjusting both color temperature and tint controls in CS5’s Camera Raw. This enabled me to vary the depth of the blue for various paintings, and to vary the red gel from more reddish to pinkish, to nearly purple, depending on the color of the mural. I am very happy that I achieved my original goal of creating a customize colored background which would really complement the colors of each mural.
Group Portrait Challenges
There is no question, it was infinitely easier to photograph the murals alone than with the student artists! Even though most of the students know me, at least to see me around the school, most of them didn’t know me well, so it took time to get them comfortable enough to relax.
One of the greatest challenges was the extreme contrasts in their clothing. Our school has a dress code requiring either a white, green, or black collared shirt. It never occurred to me to ask the kids to plan ahead to coordinate so that each group was all wearing either white or dark. Thus I had an extreme range of contrast within each group and students too squirrely to stand still enough for bracketed exposures to make HDRs. So I had to edit in post-production to burn in the white shirts. In retrospect, I think having all the artists wear black shirts for these portraits would have been ideal.
Another contrast challenge is that Global Leadership Academy has a lot of ethnic diversity, and that ethnic range was well represented in my groups of student artists. Thus, not only were clothing contrasts a challenge, but I faced great differences in skin tones as well. I am pleased that I managed the lighting well enough, along with a bit of post editing, to ensure that each student’s skin tone looks the way they look in real life!
Then there is that simple teen awkwardness factor! Actual student comment: “What – you really want me to stand that close to him?!?! We’re both guys, and we’re next to a painting of two people holding hands, with the word ‘compassion’ on it!” [Insert classic Beavis & Butthead style laughing here.] My reply: “Yes, I really do need you to stand that close to him. You don’t have to actually touch him, but is it okay if you look like you might actually be friends? Oh, wait, you really are friends, aren’t you? And he actually still likes you, even when you’re a jerk, doesn’t he?” [Insert brief moment of relaxation… very short window of opportunity…click shutter repeatedly… pray!!!]
Now let’s talk about blinking, laughing, moving, or just generally not looking good in various shots! Ohmygosh, it is not easy to get a group of five students (or even two) all with eyes open, looking in the same general direction, and happy with their appearance in a single photograph. While none of the portraits is perfect, I am happy that they all turned out fairly well. In all but one of the portraits, I finally managed a shot with everyone’s eyes open and with each student happy with how they looked (the latter took even more patience than the eyes open factor).
I mentioned all but one group… There was one group (Responsible) in which one girl, on the left of the painting, had her eyes closed in every single shot, except one. Naturally, nobody else looked good in that shot! Well, almost nobody – the great news is the boy beside her looked identical in every single shot. Thus, I braved a chance to use a Photoshop trick I’ve never tried before. It turned out to be an easy fix to select & copy the two students on the left of the painting (from her single eyes open shot), and paste that into the best of the rest of the shots of the students on the right. Not straight photojournalism I know, but when dealing with kids, you do what ya gotta!
Successes and Things Which Went Well
Art Teacher & Student Artists Happy with the Results
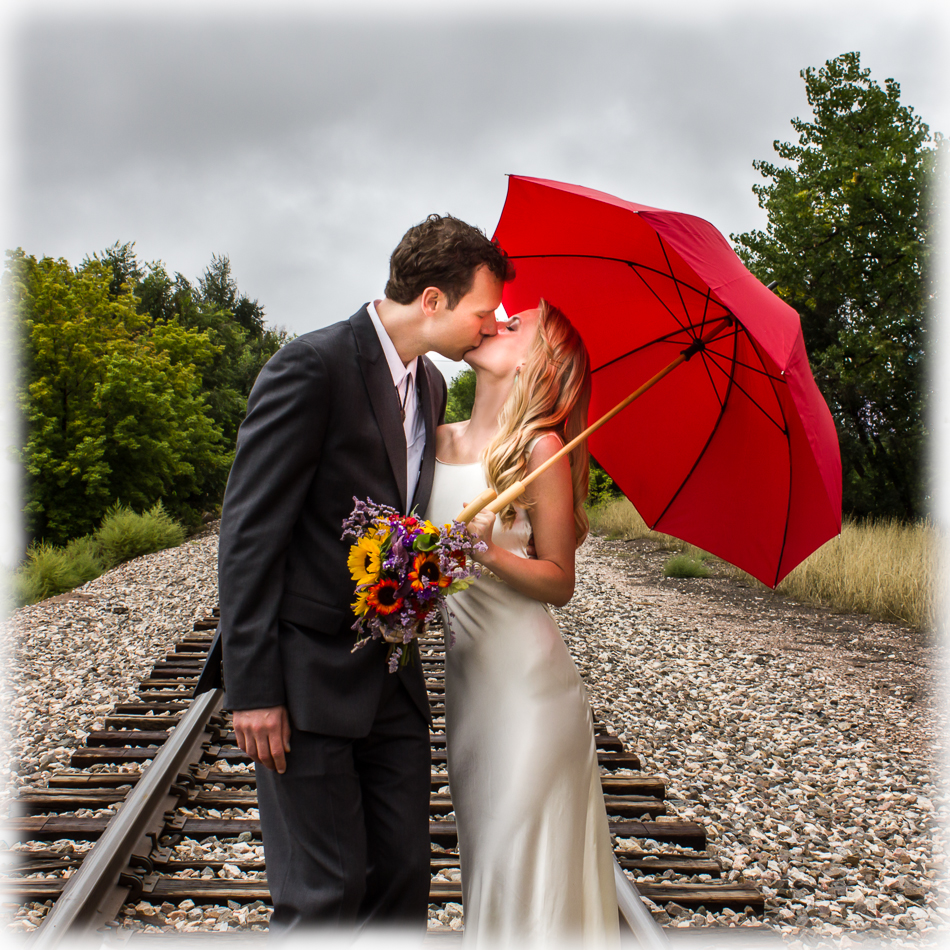
What went well with the artist portraits? First and foremost, the final results far exceeded anything the art teacher had originally envisioned when asking me to take the photographs. In terms of my own self-critique, overall, I am extremely pleased with these portraits of the students with their artwork. The most important thing to me was succeeding at having not just the art teacher, but also the students themselves be happy with their photos (and amazingly they were, even the most awkward among them). There is even one girl whose happy smile caused the art teacher to exclaim, “Oh my gosh, Bethany has teeth!” because none of us has ever seen her smile before. That alone was worth the work of this entire project. I am also happy with my choice to apply dark vignetted corners around the group portraits in post-production. This served to draw the eyes inward to the students and also helped with the fact that I’m still learning how to get an even spread of background color using gelled lighting.
Art Documentation of Mural Paintings Alone
I was very happy with nearly all aspects of this portion of the job. I love how the custom colored backgrounds complement the murals. I really appreciate how much I now notice the details in each of the paintings I’d never noticed before, because I worked so intimately with each work of art while creating these. I also love the little “cheat” I made in my final post editing, which was to Photoshop out the legs of the easel & the background light stand. Again, while this is not straight photojournalism, it eliminated any distractions that would draw the viewers eyes away from the artwork. I love the “floating” effect it gave each mural painting.
Final Reflections and Appreciations
I’m very grateful to Amy Brown, the art teacher at Global Leadership Academy, for entrusting me with this art documentation project. I also appreciate her patience when I insisted on making the shoot a much bigger production than she originally envisioned. In the long run, I know she’s happy that I did. I’m also happy that the artists like the photographs and I am proud of each of these students for stepping outside of their comfort zones enough to allow me to photograph them.
I truly appreciate both David Hobby & Joe McNally, as well as all the staff who were part of The Flash Bus Tour, for the skills I gained from your training, your books, your tutorials, and your blogs. Those skills are really starting to come to fruition for me and this art documentation shoot was a real opportunity to put my new skills to the test.
I’m overjoyed that doing these photos with the student artists helped me form real relationships with them. I moved from being just “some teacher” they recognized from seeing me around the school to someone with whom they now feel an actual sense of connection. It was something special to them that I cared about them and about their artwork. It also feels great that they now see me as this “really cool person” who put them and their artwork on the Internet. I should do another photo shoot of the looks of pride on each of their faces, every time they see their their murals and their smiling faces on my Blog, or the even greater looks of astonished pride when they read positive comments people leave about their artwork! [Hint, hint: leave comments PLEASE!]
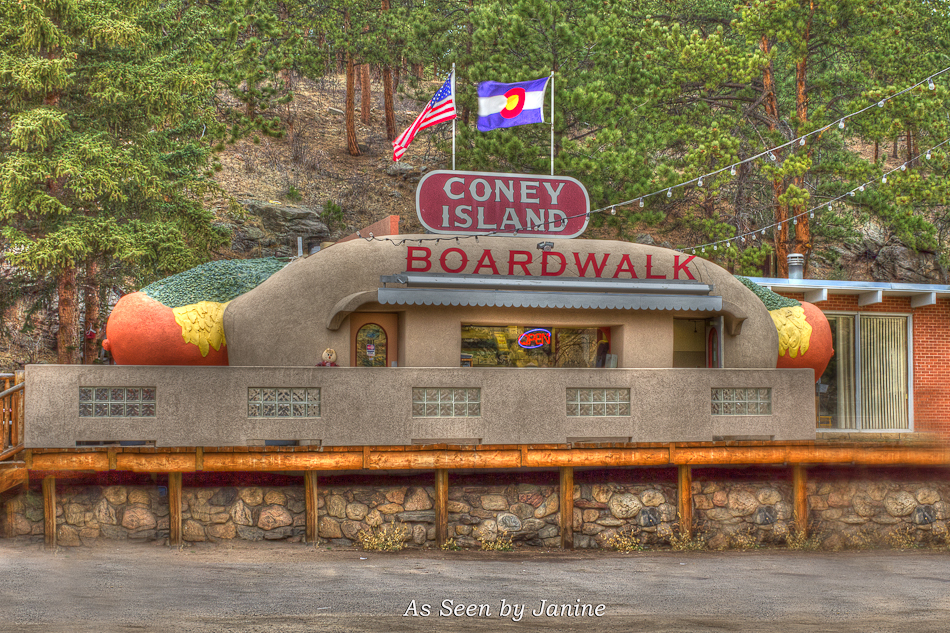
Last, I am extremely proud that I could be part of a project which helped to instil character and school pride in our students and staff. I am honored that my group portraits of the student artists with each of their murals will be displayed on a commemorative plaque beside each painting for years to come. It pleases me to know that future students and staff will get to see how those paintings and artists looked, “As Seen by Janine.”


Pingback: » “Table of Contents Plus” + “Dynamic To Top” Plugins = User-Friendly Long Posts & Improved SEO!! As Seen by Janine's Blog