Topaz Fusion Express 2: Use Topaz Labs Plugins Directly from Lightroom
Topaz Labs offers a fantastic bundle of editing plugins for creatively enhancing digital photographs.

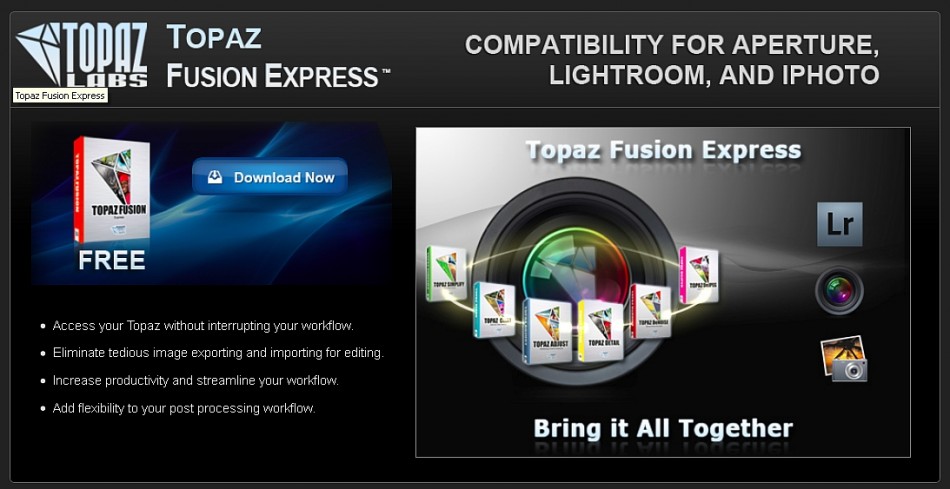
Topaz Labs Plugin Bundle
It is really simple to configure Adobe Lightroom so that Topaz Labs plugins are included as additional external editors within Lightroom.
Like many photographers, I’d been using the Topaz Labs bundle within Adobe Photoshop CS5. However, I’ve realized that Lightroom is the ideal work environment for photographers, allowing access to all my other programs and plugins for “one stop shopping” within Lightroom.
When you install Adobe Lightroom, if you have Photoshop CS5 or another version, Lightroom will automatically set Photoshop as your default external editor. Lightroom also automatically recognized my Nik Software Silver Efex Pro2 plugin and it showed up as an additional external editor. However, my Topaz Labs plugins did not show up. Thus, for awhile, I was not using the most efficient way to access my Topaz plugins. If I wanted to edit a photo using Topaz, I’d first use Lightrooms’s Edit in CS5 feature, then within Photoshop, choose Filter > Topaz Labs. The problem with this is, Photoshop CS5 does not boot up quickly, and even once it does, then the Topaz plugin chosen still has to boot up. This really slows down the workflow. I don’t like to keep CS5 open through an entire work session, even though it eliminates that boot up time, because it takes up a lot of system resources just to keep it running. I prefer to open CS5 only when I truly need it for more advanced and layered editing tasks I can’t do with other tools. Thus, I really wanted a way to edit photos with my Topaz plugins directly from within Lightroom.
A re-read of the documentation which came with my Topaz plugins explained that the solution is very simple. All that’s needed is a free download of Topaz Fusion Express 2 (the current version as of this writing is v.2):

Topaz Fusion Express 2 Free Download
Simply download and install the free Fusion Express 2, then follow these simple steps to configure Lightroom to include your Topaz plugins as external editors:
Open Lightroom and select Edit > Preferences:

1 - Edit Preferences
Select the External Editing tab:

Select External Editing Tab
As this screen capture shows under “Additional External Editor” my Lightroom program already had included Silver Efex Pro 2 as an external editor. Click the drop down arrow to the right of that Preset window and you’ll see Fusion Express listed as a choice:

3 - Additional External Editor - Select Fusion Express 2
Highlight and click on the Fusion Express preset choice. Then set your preference for how images are saved. It is recommended that you save your images as TIFF files using 16 bit ProPhoto RGB color space for optimum preservation of color details from Lightroom. Then click “OK” and you will notice that Fusion Express now says (edited) after its name in the preset list, indicating you’ve edited the settings for saving images:

4 - Set TIFF format and 16 bit ProPhotoRGB Color Space
To use your Topaz plugins within Lightroom, open the image you wish to edit in the Develop module. Then right click on the image and select Edit In > Fusion Express 2:

5 - In Develop Module Right Click Edit In Fusion Express 2
Choose: Edit a Copy with Lightroom Adjustments, Edit a Copy (no Lightroom Adjustments), or Edit Original. Since I always perform some basic develop enhancements in Lightroom on my images first, I always choose Edit a Copy with Lightroom Adjustments. I want to be able to see the adjustments I’ve already made so I can see the combined effects when editing further with plugins. I also NEVER edit my original images! Those are sacred and I never touch them, so I can always go back to my original RAW files if needed, to create a completely different effect, or if an image file gets corrupted and I need to start over with the original.
Next, choose the desired Topaz Labs plugin and click Run:

7 - Choose Desired Topaz Labs Plugin and Run
To learn more about all the plugins in the Topaz Bundle, click the image at the top of the post and visit the Topaz site. I won’t attempt to describe them all here; I could write a full tutorial on each one of them, they are so sophisticated! Instead, I will simply explain how to open one of them, make edits, and then save the image back to Lightroom. The following screen shows my having chosen Topaz Adjust 5:

8 - Global Adjustments - Local Adjustments - Finishing Touches - Apply - OK
Topaz Adjust 5 allows you to perform:
Global Adjustments: Adaptive Exposure, Details, Color, Noise, Curve Tool
Local Adjustments: Dodge, Burn, Brush Out, Strength, controlled by brush size, opacity and edge awareness (feathering)
Finishing Touches: Diffusion, Grain, Transparency, Warmth, Border, Vignette, Tone
Each adjustment made is followed by clicking Apply. There are handy Undo and Redo buttons to go back and forth to be sure you like your adjustments. When all desired changes have been made and you’re sure you’re happy with the image, click OK to save all changes and import the edited copy back into Lightroom.
Using Topaz (and any other plugins) from directly within Lightroom really simplifies the workflow. Most importantly, it assures that images with edits are automatically included in your Lightroom Catalog without you having to manually import the edited images. If you use Lightroom and Topaz Labs plugins but you are not already using them from within Lightroom, be sure to get the Topaz Fusion Express 2 Free Download.
As Seen by Janine: Eyes of the World Images


Pingback: Kyong