Handheld HDR Photos
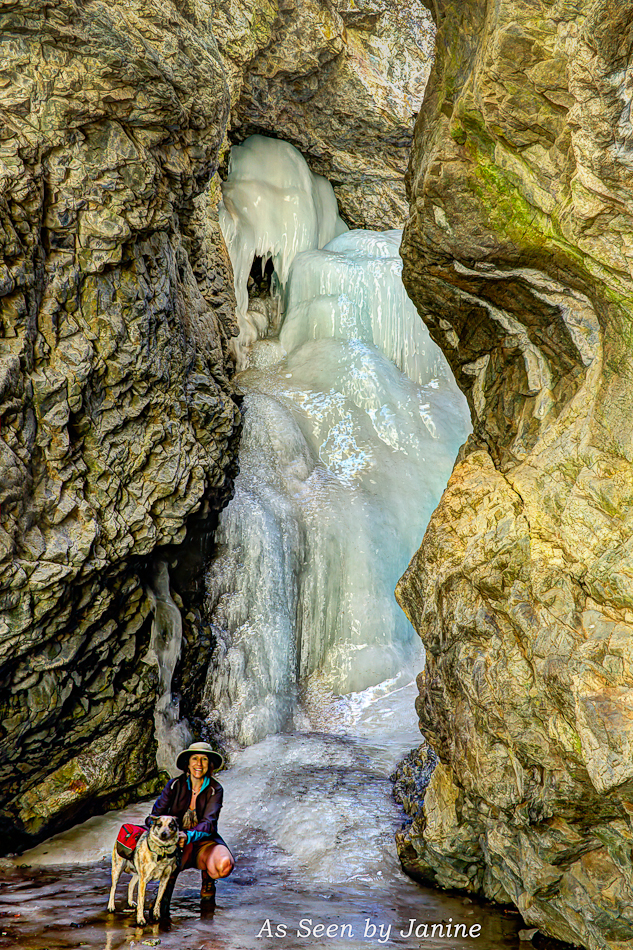
I have been very happily practicing with a handheld HDR technique I recently learned from a tutorial by Uwe Steinmueller. This photo, Wildflower Bouquet Arranged by Mother Nature, is a handheld HDR I’ve created using the technique:

Wildflower Bouquet Arranged by Mother Nature
Don’t get me wrong, I’m a strong advocate of tripod use, even when not making HDRs with combined exposures. I have a really great tripod, the Manfrotto 190CX Pro 3, but on hikes with friends, not everyone wants to wait for me to tinker about with the time required for tripod mounted photo shoots. Also, when I’m backpacking with a full pack pf camping gear, plus accompanied by my dog, I don’t have a huge incentive to carry a tripod.
In such instances, I look for trees or rocks to brace my camera, or I do the best I can by creating a “human tripod” using basic Photo 101 techniques: wide stance, elbows locked in to ribs, camera braced to face, hold breath, and gently squeeze the shutter. Even still, there are always going to be some perspective shifts among any bracketed exposures I take.
Uwe Steinmueller’s tutorial, which I found on dpreview.com, gave a tip on getting better HDRs from handheld images by stacking and aligning the images in Photoshop before processing in your HDR program, such as Photomatix Pro 4 (which I use) or Nik Software’s HDR Efex Pro. The tutorial referenced a script for Photoshop which performs the stacking and alignment; the script is an enhanced auto align version of Photoshop’s “Merge to HDR” script..
UPDATE: Since the original writing of this post, Uwe and Bettina Seinmueller have since combined all their HDR tutorials from dpreview.com into a Kindle eBook called HDR Artistry: Art and Craft of HDR Photography, which includes the downloadable “Stack/Align/Crop” script you can add to your Photoshop scripts.
To install the script, simply download and unzip the script file, which is named < StackAlignCrop.jsxbin >. Then copy this file to “Program Files > Adobe > Photoshop > Presets > Scripts.”
To use the script, select all images for the sequence in Lightroom and then select “Edit In > Open As Layers in Photoshop.” Once Photoshop opens with the images as layers, select “File > Scripts > Stack/Align/Crop.” Once the script has run, select “File > Scripts > Export Layers to Files” and export as a 16 bit TIFF file. Uwe recommends keeping the TIFF options at their default settings and including the ICC profile.
Once the aligned, stacked, and cropped layers are exported as TIFF files, open the new TIFF files in Lightroom, select all of them and export to Photomatix Pro (or other HDR plugin).
The wildflower photo above was my first attempt at the technique. I installed the downloadable script, which I used to stack, align, and crop three handheld exposures in Photoshop CS5. These I processed in Photomatix Pro 4 to create my HDR from three perfectly aligned photos. I am very pleased with the results I got applying this technique. In fact, this handheld HDR is one of the sharpest and most beautifully detailed photos I’ve taken in quite some time!
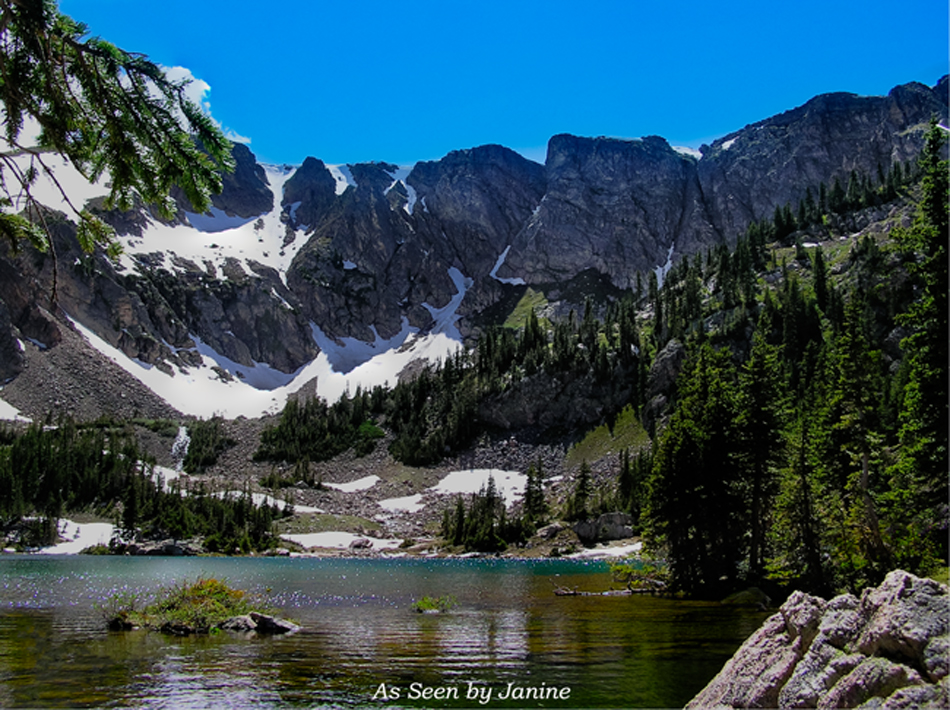
Below are a few other HDR images which, believe it or not, were taken with a mere cell phone and, better still, were shot while paddling in a kayak, bobbing around on a windy reservoir! As you can imagine, the shots were not identical in cropping and perspective. I used the “Stack/Align/Crop” script to create my three aligned copies and then processed as normal in Photomatix Pro 4. I am very impressed with the results! Check them out:

Ponderosa Pines on Gross Reservoir

Kayaking on Gross Reservoir

South Boulder Creek Inlet to Gross Reservoir
Hopefully these simple examples will show you that you needn’t avoid trying to create beautiful HDR photographs simply because your photos were shot with a handheld camera. Check out HDR Artistry: Art and Craft of HDR Photography and give it a try!
As Seen by Janine: Eyes of the World Images


Pingback: Honoring the CO Capital Dome Exhibition | As Seen by Janine's Photo Blog by Janine Fugere
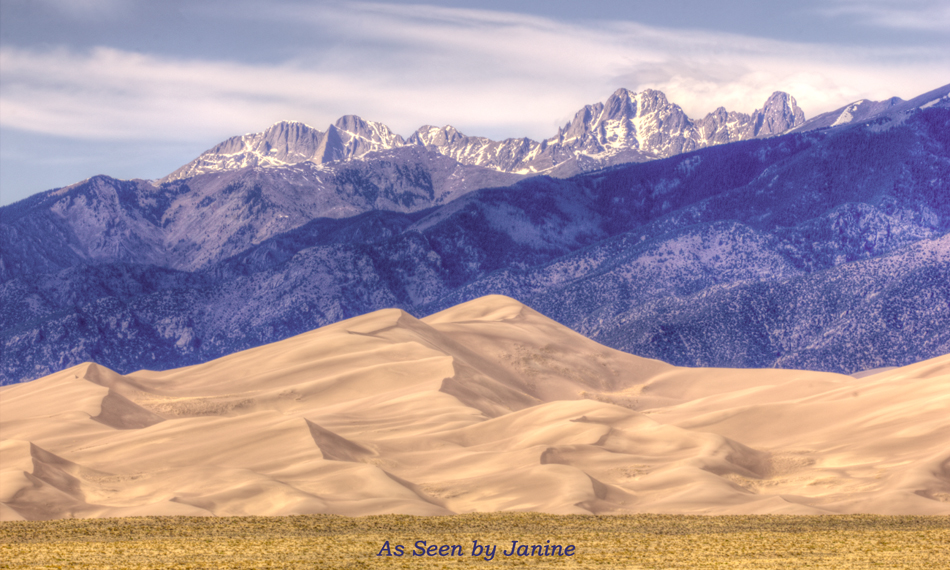
Pingback: Realistic HDR Workflow: Great Sand Dunes National Monument | As Seen by Janine's Photo Blog by Janine Fugere