The Flash Bus Tour in Denver Was Totally Worth the Price of Admission!
The Flash Bus Tour in Denver was one of the peak experiences in my lifetime of learning about photography!
Funny, I’d read posts from people who thought the Flash Bus Tour’s $99 dollar price tag was too much for a training which is just a lecture & demo presentation, not a “hands on” practice session for the participants. All I can say is this: anyone who didn’t &/or doesn’t go totally missed the boat!
The training itself was worth at least double the price of admission! That is not even taking into consideration all the free and discounted schwag everyone who attends receives. I don’t know if the exact same goodies are at every city’s event, so don’t quote me on this, but….
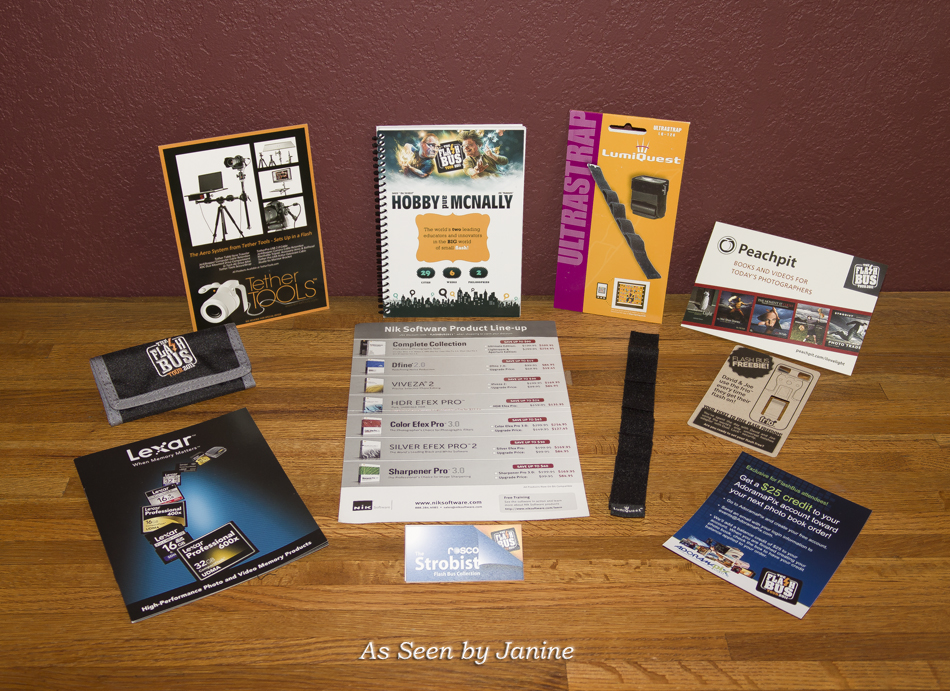
Here is the cool schwag I scored:
- FBT Hobby & McNally spiral bound notebook (will use to note my experiments)
- LumiQuest UltraStrap for mounting accessories to flashes
- Set of Rosco flash head sized color gels, for modifying the color of light
- Think Tank Pixel Pocket Rocket pouch to hold data storage cards
- Frio Universal Hotshoe Adapter with Dual Lock security
- Discounts on LumiQuest light modifiers
- Discounts for: Nic Software, Peachpit Books, Adorama Photo Book order
- A free Tether Tools JerkStopper Camera Cable Retention Device with any Tether Tools order of $100 or more.
In addition, there were a large number of other relatively pricey gear items given away throughout the training. If you wanted to score one of these, you had to be on your toes & really pay attention.
Or, you needed to set that city’s record for the furthest distance traveled to attend, as accomplished by Dan Bailey, of danbaileyphoto.com who traveled from Anchorage, Alaska for the Denver FBT. Now, that’s determination!!!
The FBT training changed everything I ever thought about lighting!
I will never see light the same way again. I’d like to summarize some of the biggest “Ah Ha” revelations that clicked in my ever-eager photographic mind while I was there. However, I very strongly preface my sharing with this: Nothing I say here can possibly be a substitute for attending the Flash Bus Tour. So if you missed it, be sure to attend one if David & Joe ever offer another round of the FBT!
David Hobby & Joe McNally, simply put, are good people!
Before I speak about things I learned, I wish to mention what an extreme pleasure it was that both David Hobby & Joe McNally (who are both icons of sorts to me) are some of the most humble, down-to-earth & approachable guys I ever met. David Hobby even noticed & said hi to me in an audience of 400 people, recognizing me from my Tweets & Blogs posted about how excited I was for the show. It blew my mind that guys this famous & successful actually read the posts of their fans, let alone say hello to them in the audience. Both David & Joe were happy to talk one-on-one and in small groups with folks during breaks, answer questions, autograph books & just connect with people. I had the overwhelming sense throughout the day that I was with “good people.”
Click Any Contents Heading To Jump There:
- 1 NOW HERE ARE SOME OF MY “AH HA” REVELATIONS ABOUT LIGHTING:
- 1.1 AMBIENT LIGHT EXPOSURES:
- 1.2 FILL & KEY LIGHTS:
- 1.3 AMBIENT LIGHT BEHIND SUBJECT:
- 1.4 SETTING KEY LIGHTS UP HIGH:
- 1.5 PRESERVING THE QUALITY OF LIGHT WHICH DREW YOU TO THE LOCATION IN THE FIRST PLACE:
- 1.6 A BIG BLACK ROOM IS YOUR FRIEND:
- 1.7 GETTING THE COLOR OF GELLED FLASH CORRECT:
- 1.8 TTL VERSUS MANUAL:
- 2 THE FUNNEL ANALOGY:
- 3 PHOTOGRAPHERS ARE BODHISATTVAS:
- 4 TO SUM IT UP, I CANNOT RECOMMEND THE FLASH BUS TOUR ENOUGH!
- 5 IF FOR SOME SAD REASON YOU MISSED THE FBT, GET BOTH SETS OF DVDS:
- 6 SUBSCRIBE TO AND FOLLOW BOTH THESE TALENTED PHOTOG’S BLOGS:
- 7 THANKS TO DAVID, JOE & THE FLASH BUS CREW FOR SUCH A GREAT EXPERIENCE IN DENVER!
- 8 HAPPY STROBE LIGHTING!
NOW HERE ARE SOME OF MY “AH HA” REVELATIONS ABOUT LIGHTING:
AMBIENT LIGHT EXPOSURES:
Everything I thought about how to expose for ambient light was totally backwards. I’ve always started by choosing an exposure that makes the ambient light look as good as I can get it & from there, tried to fix everything else with supplemental lights. This approach, naturally, totally whacks & overexposes the ambient light. The outcome is results that are…shall we say, YUCKY at best!
I learned from David Hobby to first meter the ambient light, and then dial the exposure down to a baseline contrast that leaves the ambient light on the scene underexposed. Yep, this will definitely look darker than desired, but have no fear! You will fix this by adding layers of lights to get desired effect. Hobby shows you how and the results are WOW!
FILL & KEY LIGHTS:
I knew about using fill light (&/or reflectors) to allow use of harder key lighting & to soften unflattering shadows. But what was a totally new concept for me was to consider setting my fill light BEFORE the key light. Also new to me was the idea of not having the key light aimed at the subject (I typically use about a 45 degree angle), but rather having it skim past the subject, since the fill is already in place to take care of the shadows. The result is very cool effects which are far less “canned retail portrait studio” looking!
AMBIENT LIGHT BEHIND SUBJECT:
This just totally blew my mind! My whole life I was taught to have the sun behind my back, shining towards my subject or the subject will be too dark. Yet, we all know how unflattering squinty eyes desperately trying to avoid the sun’s glare look! My only solutions up to now were to photograph people wearing sunglasses, to photograph people in the shade out of direct sun, or on cloudy days.
Who knew, the ideal solution is to place the sun behind my subject? That can’t be right! But now I see that it is. With the sun (or a brightly lit window) behind the subject, dial the exposure for the ambient light way down until the sky background looks good; then add key light in front of the subject to make them look good too. Once again, totally backwards from everything I’d ever thought!
SETTING KEY LIGHTS UP HIGH:
Another misconception I’ve had is setting my key lights just slightly above the level of my subject’s face. It never occurred to me to set them up higher, so they act like the only natural light sources we have on this earth: the sun or the moon. Hobby showed one solution for this by bouncing strobe light off the ceiling. McNally showed setting a softbox up high or bouncing a strobe off a reflector held over the subject’s head.
However, I thought the coolest example of getting the light to come from high above was my favorite gadget out of all Hobby’s “bag of tricks.” This was his use of a huge silk Chinese lantern as a spherical diffuser for a strobe. I love the effect he got by hanging one of these high in a tree for an outdoor portrait I am hoping for a Strobist Blog with more details on how he attached his flash to the lantern, because, simply put, I MUST MAKE ONE AT ONCE!
PRESERVING THE QUALITY OF LIGHT WHICH DREW YOU TO THE LOCATION IN THE FIRST PLACE:
Joe McNally totally nailed it when he said that most of us are drawn to shooting locations because of the quality of the light that is there. The secret, he says, it to tweak that light without destroying the original quality. Let me tell you, McNally has an arsenal of ways to tweak the light (making me and likely everyone else in the room want lots more gear)! The good news is, there are tons of discounts available if you order some of these light modifying tools there at the FBT. The other good news is, if you are creative, you can improvise many of these tools very affordably.
A BIG BLACK ROOM IS YOUR FRIEND:
McNally changed my fear of big rooms for shoots. I don’t like shooting in most rooms, in fact, because there so often don’t seem to be any “good spots” with interesting or non-distracting backgrounds. What I came away with is the idea that a big black room = total control. Now I understand that I can start by dialing the exposure down to minimize how much of the room background shows – hence giving you a big empty space.
Then the control starts: by using walls, paper, softboxes, diffusers, reflectors, the floor, and color gelled accents, and found objects, all to modify light from strobes, Joe teaches how to take control of that big empty space. I left the training armed with a myriad of techniques so that I never again need to fear having to shoot in a lousy room. With the techniques Joe demonstrated, the room itself becomes almost inconsequential.
GETTING THE COLOR OF GELLED FLASH CORRECT:
Another misconception I had is that when I’ve tried to gel background or accent lights and the color isn’t saturated enough, I’ve been increasing the exposure of the light. WRONG! This just makes the color less intense and washed out. I just couldn’t figure out what I was doing wrong, so I’ve not done much with gels. Now I understand that to make the gel color stronger, I need to decrease the exposure of the gelled flash. That learning alone is going to save me a world of frustration! Plus, I now have a free set of Rosco gels to practice with!
TTL VERSUS MANUAL:
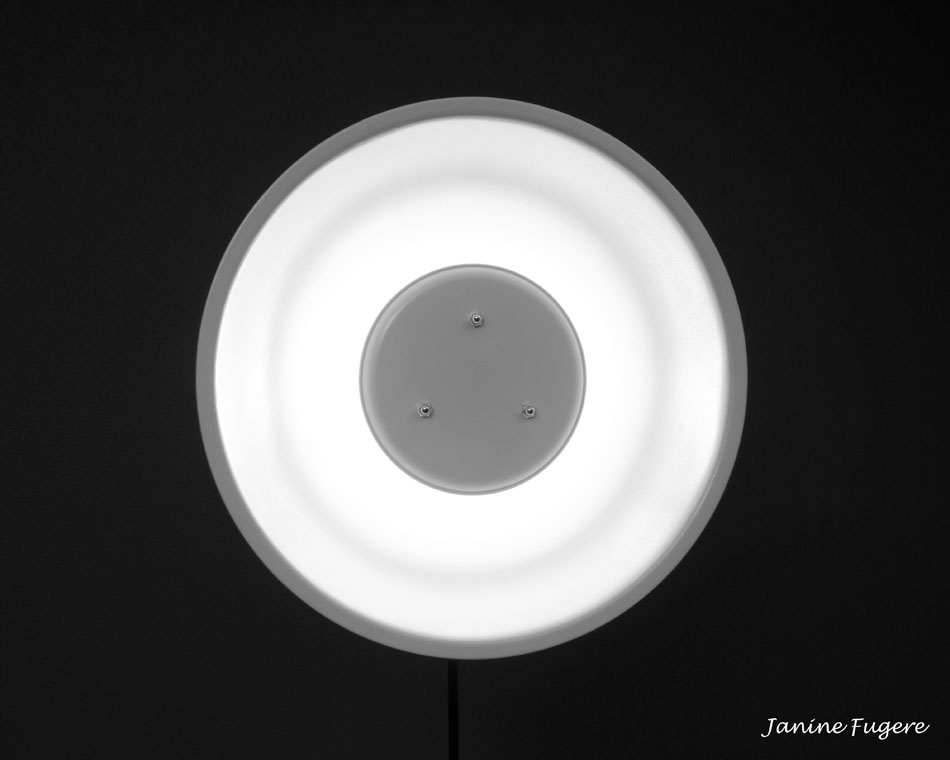
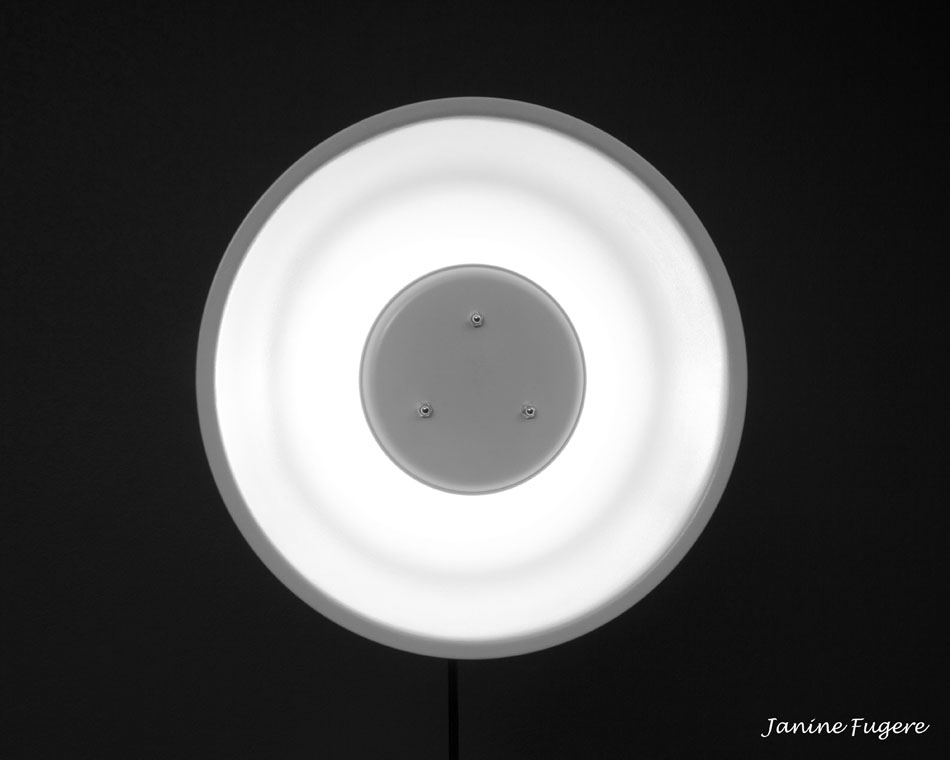
Because I now own three Canon 430EX II ETTL flashes & the Canon ST-E2 wireless transmitter, I was pretty darned excited to see the TTL approaches Joe McNally favors. I can’t wait to start practicing with these TTL techniques with all three flashes, as thus far I’ve only shot TTL with one off-camera flash shot through my homemade DIY Beauty Dish.
As Seen by Janine’s Blog – The Making of My DIY Beauty Dish
As excited as I was to learn more about off-camera multi-strobe TTL control, on the other hand, I was also totally awestruck by the manual techniques David Hobby prefers. The manual multi-strobe shots Hobby took had such elegant simplicity, that I can’t argue that one technique is better than the other. Thus, I came away having met one of the training objectives, which is to understand and know how to use both manual & TTL strobe lighting. Each approach has its own benefits.
THE FUNNEL ANALOGY:
Sometimes, serendipity brings me learning, quite different from what I thought I intended to learn, but which is life changing for me. Experiences that give the sense of, wow, this is really a big part of why I was supposed to be here! This was the case as I heard David Hobby speak of his philosophy about how to funnel business your way. He encourages helping your local community; doing things to help others; giving it away; paying it forward; forming social networks, focusing on building relationships; giving credit to all who have helped you. Then you just need to have the patience and grace to allow the good karma of all you’ve done naturally funnel that energy right back to you.
Hobby’s ideology was so affirming to me, because I’d actually been wondering if all my efforts were misdirected. I’ve been photographing folks for free to gain experience, meanwhile posting Blogs, Tweets, Facebook posts, writing “how to posts” to help other photographers, and giving credit to lots of others who have helped me on my path. But it’s hard not to doubt sometimes if these things are worth my energy. Friends say, “Why are you doing all that stuff? You should be using that time to sell photos!” But the minute David recognized me in the crowd, based on a few Tweets and Blog posts, I already started to sense I’m heading in the right direction. Then later hearing his action plan for funneling his photography business to continued thriving success solidified my confidence that I’m on the right track. I recommend reading David’s Blog which explains this philosophy even further:
Strobist Blog – OT: Manage Your Funnels
PHOTOGRAPHERS ARE BODHISATTVAS:
Both David & Joe spoke warmly & candidly with the audience, both during breaks, and for quite some time at the end of their presentation. They frankly answered difficult questions about the challenges of making a living at photography in an age when “everyone is a photgrapher” (or at least thinks they are). They shared their visions on how to adapt to the ever-changing field of photography. They discussed the trials of balancing their careers with their personal lives. They spoke from the heart about the passions they have for both their work and also for their families. They also seem to have a real soul-calling in helping other photographers find their way to artistic & creative success. Their giving nature supports my theory that most photographers are Bodhisattvas. A Bodhisattva is someone for whom it is not enough to attain enlightenment him or herself, but rather, chooses to help others along the path as well. In my mind, both David Hobby & Joe McNally are true Bodhisattvas!
TO SUM IT UP, I CANNOT RECOMMEND THE FLASH BUS TOUR ENOUGH!
IF FOR SOME SAD REASON YOU MISSED THE FBT, GET BOTH SETS OF DVDS:
David Hobby’s Lighting in Layers from Adorama
Joe McNally’s The Language of Light from Adorama
SUBSCRIBE TO AND FOLLOW BOTH THESE TALENTED PHOTOG’S BLOGS:
THANKS TO DAVID, JOE & THE FLASH BUS CREW FOR SUCH A GREAT EXPERIENCE IN DENVER!
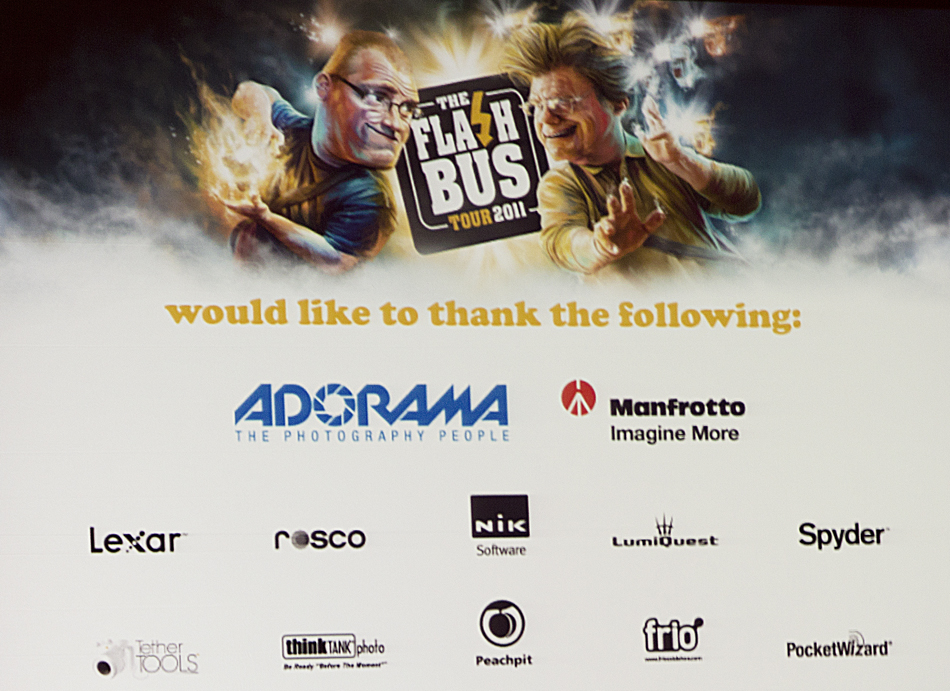
Thanks also to my neighbor, Andy Schwartz of Soaring Light Images for telling me about David & Joe and about the Flash Bus Tour. Thanks as well to my new friend, Shandi of Shandi Kay Photography for sharing with me all her screen shots of the lighting setups David & Joe displayed on the big screen. I’m a compulsive note-taker, so the screen shot at the opening of the show is the only one I managed to get; thus I really appreciate Shandi’s sharing.
HAPPY STROBE LIGHTING!
AS SEEN BY JANINE: EYES OF THE WORLD IMAGES








Leave a Reply